 When you think of houseplants, your mind likely drifts to common flora such as orchids or African violets. Even in terms of edible gardening indoors, you may believe herbs are the only plants you can grow.
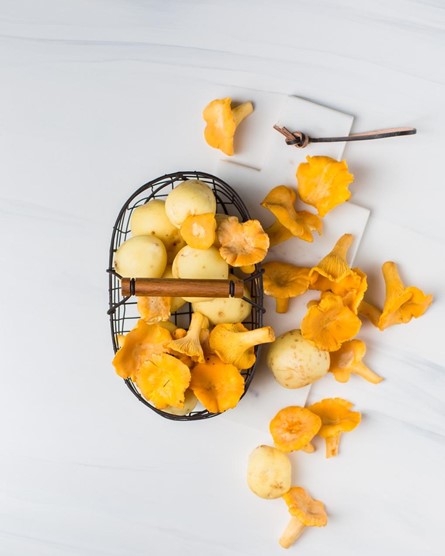
But believe it or not, mushrooms are delicious and highly-functional fungi you can cultivate without ever leaving your kitchen.
The process of growing mushrooms indoors is relatively straightforward, as well. Once you've inoculated the spores, it'll only take a few weeks for your mushrooms to mature.
Table of Contents
- Getting Started
- Supplies Needed for Growing Mushrooms Indoors
- Step 1: Sterilize Your Substrate
- Step 2: Inoculate Your Mushrooms
- Step 3: Incubate Your Mushrooms
- Step 4: Fruiting Mushrooms
- Step 5: How to Harvest Your Mushrooms
- Final Thoughts
 Getting Started
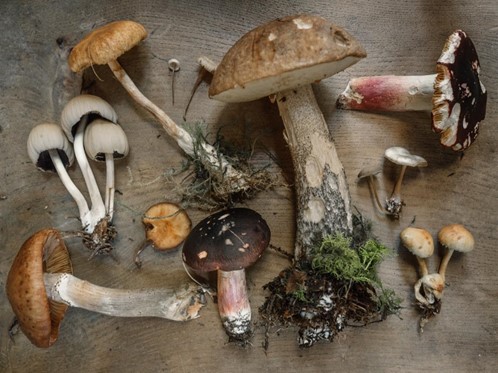
First and foremost, decide what type of mushrooms you're interested in growing. There are over 50,000 types of mushrooms, though only 20 varieties are flavorful and fit for consumption.
Some of the most common varieties of edible mushrooms include:
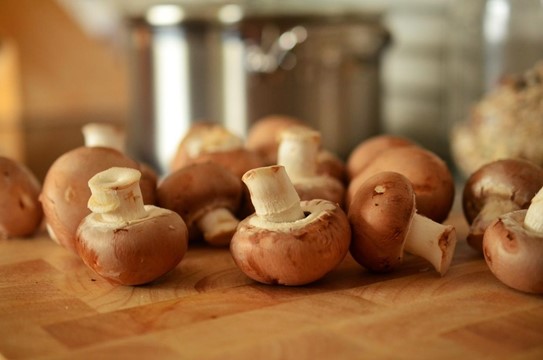
- Button mushrooms (white mushrooms)
- Cremini mushrooms (baby portobello mushrooms)
- Portobello mushrooms
- Oyster mushrooms
- Shiitake mushrooms
- Maitake mushrooms
- Reishi mushrooms
- Lion's mane mushrooms
Of these, the easiest varieties to grow indoors are oyster mushrooms. Though once you get the hang of growing mushrooms, growing these other varieties will be a breeze.
Psilocybe mushrooms ' a.k.a. magic mushrooms ' are another very common and very easy fungi to grow indoors.
There are quite a few different growing methods for psilocybe mushrooms. The PF tek method is a very popular route that calls upon vermiculite, brown rice flour, and ' pint jars.
While psilocybe mushrooms are common throughout the world, they're also illegal to grow in most countries. Before purchasing spores, be sure to research the laws for growing shrooms in your area carefully.
Magic Mushrooms Canada, for example, are a Schedule III drug. They're also in Part J of Canada's Food and Drug Regulations policy. This means magic mushrooms are prohibited to sell and consume unless Canadian health officials authorize them.
Supplies Needed for Growing Mushrooms Indoors
- Mushroom spawn or spores
- Substrate
- Growing containers (mason jars, mushroom bags, buckets, etc.)
- A large pot
- A lighter
- Cleaning supplies (disinfect spray/wipes, paper towels, etc.)
Step 1: Sterilize Your Substrate
Before pulling out your supplies, thoroughly disinfect your area. You should wash your hands before and after you handle the substrate and spores/spawn every time, too. This minimizes the risk of other natural fungi or bacteria contaminating your mushrooms.
Once your workspace is sparkling clean, it's time to sterilize your substrate. Mix water and the substrate in a large spot. There should be just enough water to thoroughly dampen the substrate.
Boil the pot for about one to two hours. While it's boiling, keep a careful eye on the pot and add more water as needed.
During this time, you should start preparing your growing containers, too. If you're using mason jars or a bucket, rinse them out with very hot water.
To grow mushrooms inside of a bucket, you'll also need to drill holes all around the container so the mushrooms can fruit.
After the substrate has finished pasteurizing, place it into your growing containers.
Step 2: Inoculate Your Mushrooms
If you're working with mushroom spawn, start by flame-sterilizing your scalpel, blade, or tweezers. Heat the tip until it's red-hot. Then, grab your mycelium and place it in the container. Give the containers a light shake to help distribute the mycelium.
Similarly, if you're working with spores, you'll need to flame-sterilize the tip of your needle before inserting it into each growing container's substrate.
Step 3: Incubate Your Mushrooms
After you've inoculated your growing containers, it's time to incubate them. Keep the containers in a warm, dark place for a few weeks. You should soon see a blanket of fluffy, white mycelium take over the substrate.
Stay alert for any signs of contamination, such as discoloration. If you believe one of your containers is contaminated, toss it out.
Step 4: Fruiting Mushrooms
You'll know your mushrooms are done incubating once you start to see pins forming along the sides of the container. If you're using mushroom grow bags or buckets, you don't have to transfer your mushrooms to a fruiting chamber.
If you're using mason jars, it's time to transfer your mushrooms into a fruiting chamber. You can use a large plastic bin with small holes drilled along the sides to increase airflow.
This is where the magic happens. Those little pins you see now will quickly grow into full-sized mushrooms in just a few days.
 Step 5: How to Harvest Your Mushrooms
Each species has different tell-tale signs that they're ready for harvest. For example, oyster mushrooms are ready for harvest once their caps edges have started curling up.
Before harvesting your mushrooms, wash your hands. Then, give the mushrooms a gentle twist and pull. Voila!
Some species will yield multiple harvests, repeating the pinning and fruiting cycle every few weeks until it's exhausted. Once your substrate has stopped producing mushrooms, it's time to throw it away and start fresh.
 Final Thoughts
While mushrooms aren't the most common 'houseplant,' growing them indoors is a relatively easy, quick, and straightforward process. Growing mushrooms in your home takes just five simple steps to complete: sterilization, inoculation, incubation, fruiting, and harvesting.

